-
The Summer of DIY’s: Making the Most Of Your Outdoor Space
The Summer of DIY’s: Making the Most Of Your Outdoor Space
Summer is here! With that comes the warm days to spend outside in your very own backyard oasis -- custom made by your very own two hands. It’s true, DIY projects are getting steadily more popular. The reason being is that it’s easy to get these projects done during the weekend, and most are not labor-intensive. These projects serve to beautify and clean up whatever space you have in your back or front yard. It’s also good to get out in the sun, soak up some Vitamin D and get those endorphins flowing! Don’t you want to be able to relax at home after a stressful work week? If the answer is yes, we’ve got just the project for you!
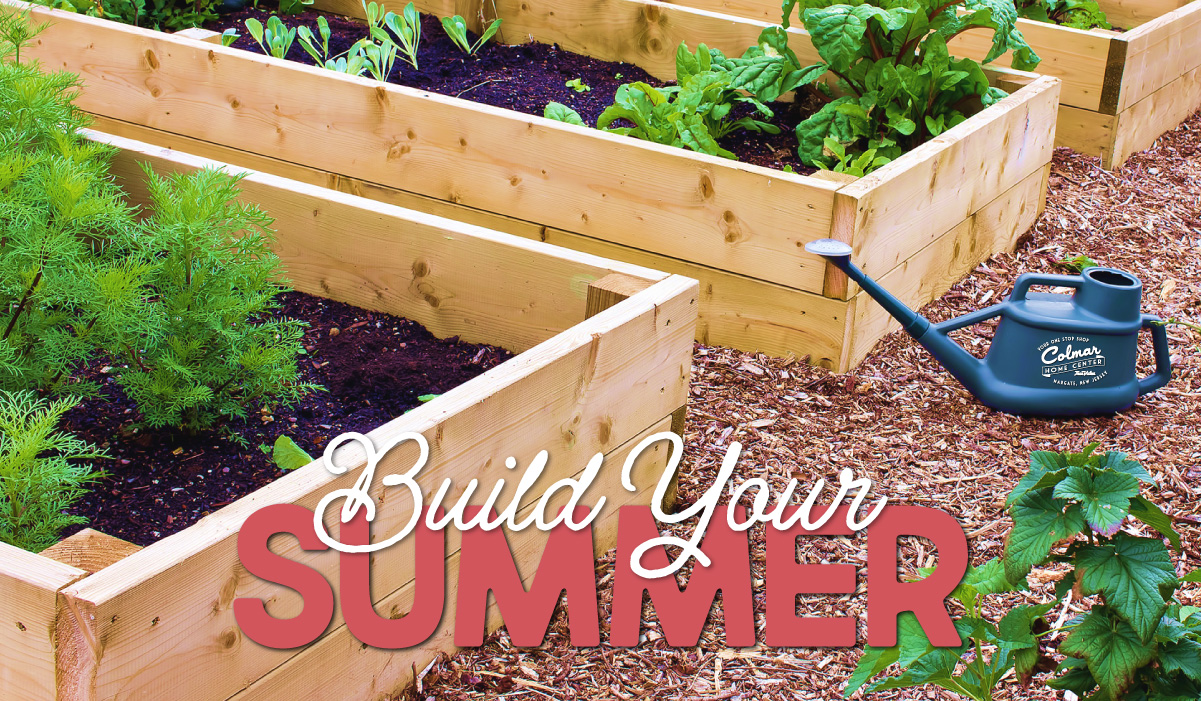
Build & Plant a Raised Garden Bed
Step One: Construct the Raised Garden Bed Framing
When building a raised garden bed, the best materials to use are wood, brick, rocks, or cement blocks. Create a bed that is as long as you like or your space allows for. Remember: it has to be at least 1’ deep and no more than 3’ to 4’ wide. If you do decide to go wider, keep in mind that it will be a bit more difficult to reach the center to weed, water, and fertilize. Build your raised bed on level ground. Also, make sure that your bed can receive eight hours of sun a day.
*Helpful Tip! If you are building with wood, be sure to use a rot-resistant variety such as pressure-treated or cedar lumber.Use a measuring tape and pencil to mark your frame with the decided-on dimensions and cut (if needed) with the proper tools. If using wood, attach the pieces together using wood screws and an electric screwdriver.
*Helpful Tip! To slow the rotting of wood, paint the wood with a natural preservative such as linseed oil.If your bed sits directly on the soil you may want to line it with hardware cloth to prevent moles or any other unwanted critters that may go up through the bed. Another alternative is to attach a piece of plywood to the bottom of the bed to protect it from animals and roots that may go or grow up through the bed. If you do decide to attach plywood, drill holes in it at intervals so that the bed receives proper drainage.
If you decide against the bottom panel, just make sure that you loosen the soil in the bottom of the bed with a spade or spading fork. This improves drainage and ensures that you won’t over-water your plants. After this step, fill the bed to the top with a mixture of compost or quality topsoil. When you’re done, be sure to remove sticks, rocks, and any other debris before raking the tops of the beds so they are smooth and flat.
Step Two: Add Some Aromatic or Serene Plants to Your Garden BedThis next part is the fun part! This is when YOU get to decide what favorite vegetables or plants you get to put in your bed. Make sure that all three are a good fit for your region before you decide to plant and that they all fit the appropriate season. After planting, be sure to apply the fertilizer right around the plants.
*Helpful Tip! It’s important to not compact the soil, so if possible, avoid stepping on it. Tall plants should be planted against a wall or on the north side of the bed.Step Three: Show Them Some Love with Water and Feed Regularly
Raised beds may dry out faster than other garden beds, so be sure to water regularly. All-purpose plant food is a good idea as well because there is less soil mass to provide food to plants.
Step Four: Mulch Your Raised Garden BedsMulch with straw, shredded bark, or any other organic materials. Mulching prevents weeds from growing in your raised beds and also conserves water. Layer the mulch at a depth of 2” to 4”. It should be thick enough to prevent sunlight and prevent weeds from sprouting. Mulch breaks down over time so replenish when a thin layer remains. By adding mulch, you are improving the soil, and reducing the need to water and pull weeds.
Step Five: Enjoy!Time to enjoy this fun project. Add some outdoor furniture nearby so you can see your plants prosper and grow! Be sure to check our TrueValue DIY link for more amazing projects!